Ultimate Window Installation Checklist for Homeowners in Centennial
Table of Contents
- A Complete Window Installation Checklist for Homeowners in Denver, Colorado
- Window Installation Fundamentals: Process, Scope, and Timeline
- Preparing Your Home for Window Installation Day
- Evaluating Quotes, Vetting Contractors, and Inspecting Window Work
- Permits, Codes, and Warranty Protection for Window Replacement
- Common Questions About Window Installation in the Denver Area
- Begin Your Window Replacement Project with Confidence
A Complete Window Installation Checklist for Homeowners in Denver, Colorado
In this window installation checklist for homeowners, we outline the crucial steps Denver residents must take before, during, and after a professional window installation. Drawing on industry best practices from the National Association of Home Builders (NAHB) and our local experience with the Denver permitting and inspection processes, these actions protect your investment and ensure a smooth project. Follow each step carefully.
- Verify your contractor holds an active license with the Colorado Department of Regulatory Agencies (DORA). For extra peace of mind, choose a licensed general contractor in Centennial, Colorado who offers 24/7 support for urgent questions.
- Confirm your contractor obtains all necessary building permits from the Denver city permitting office and schedules required inspections before work begins.
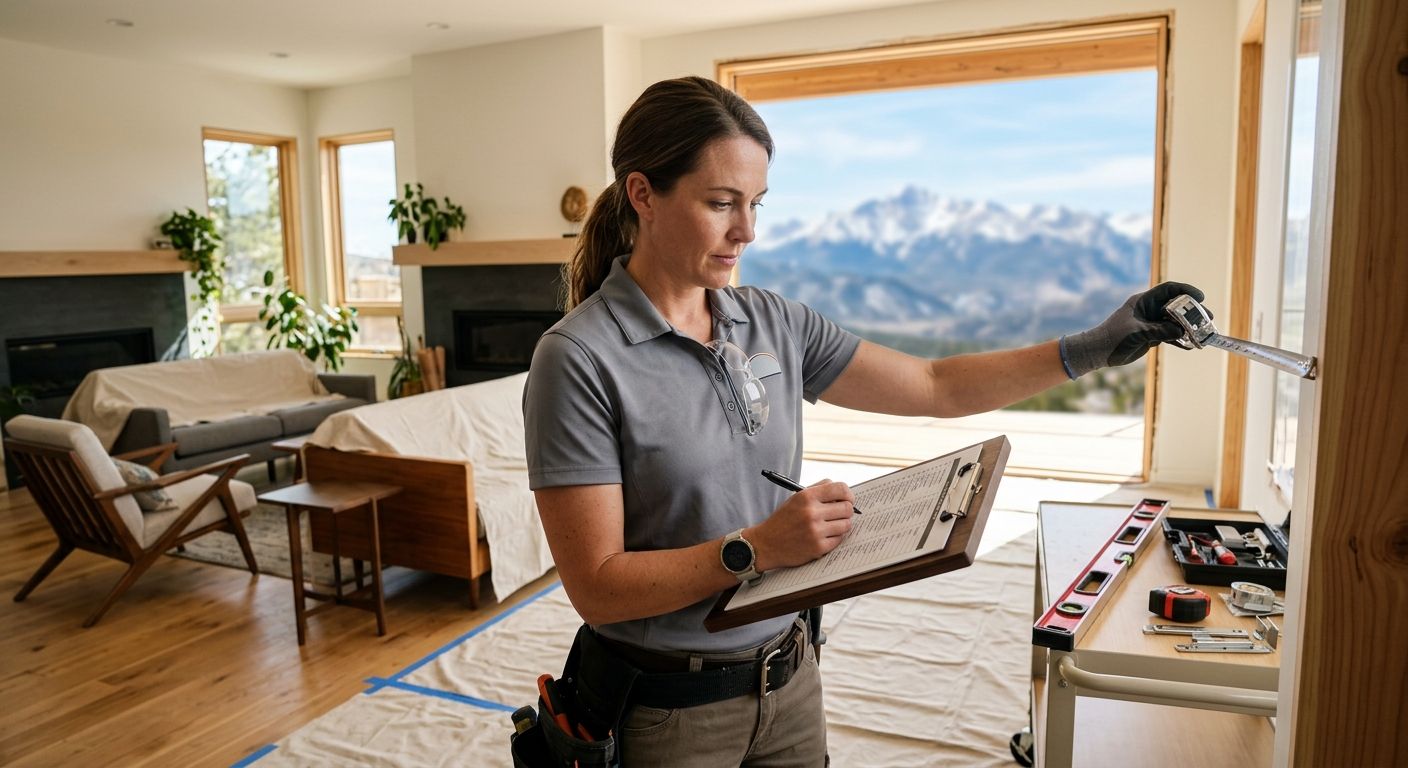
- Prepare your interior: remove all curtains, blinds, and nearby furniture from windows; cover floors and surfaces with drop cloths — this is essential window replacement home preparation.
- Inspect the exterior siding, flashing, and caulking for any damage; request that the contractor addresses issues before installing new windows.
- Given Denver’s cold winters, ask the installer to use low-expansion foam sealant around frames to eliminate air leaks and reduce condensation.
- Perform a thorough post-installation walkthrough and look for signs of improper window installation like visible drafts, gaps, or sashes that stick.
- Document the project: take clear photographs of the completed work and retain all contracts, permits, and warranty paperwork for future reference.
With this checklist in hand, you’re ready to oversee a successful installation. Let us help you get your project started.
Window Installation Fundamentals: Process, Scope, and Timeline
Once you have decided to replace your windows, understanding the installation process helps set clear expectations. A thorough window installation checklist for homeowners clarifies each project stage, from the first phone call to the final inspection. At ACN Construction, we believe transparency builds trust, so we have outlined exactly what you can anticipate when working with our team in Centennial and the broader Denver metro area.
Window Replacement Project Stages Overview
The following table summarizes the typical stages of a window replacement project, along with the activities involved and estimated timelines for each. Use it as a quick-reference guide as you plan your investment.
| Stage | Activities | Estimated Timeline |
|---|---|---|
| Consultation & Quotation | Site visit, measurements, scope discussion, written estimate | 1–2 weeks |
| Permitting & Material Order | Permit submission (if required), window fabrication or order | 2–6 weeks |
| Site Preparation | Interior protection, exterior clearing, parking arrangement | 1–2 days before install |
| Installation Day(s) | Window removal, frame prep, installation, sealing, trim | 1–3 days per floor (10–15 windows) |
| Final Walkthrough & Cleanup | Inspection of work, caulking, paint touch‑up, debris removal | 1 day |
These estimates are based on internal project timeline data from our typical Denver-area jobs and align with industry standards published by the National Association of Home Builders. Actual timelines may vary based on site conditions, material availability, and permitting.
The consultation and quotation phase is the critical first step where we visit your home, take precise measurements, and discuss the scope of work. No project moves forward without a detailed written estimate and your full understanding of the plan.
Permitting and material ordering follow. Requirements vary by jurisdiction—for example, a project in Centennial can have different lead times than one in Denver—and this stage can add 2 to 6 weeks. As experienced home renovation contractors, we manage the entire permitting process so you do not have to navigate city offices or HOA requirements alone.
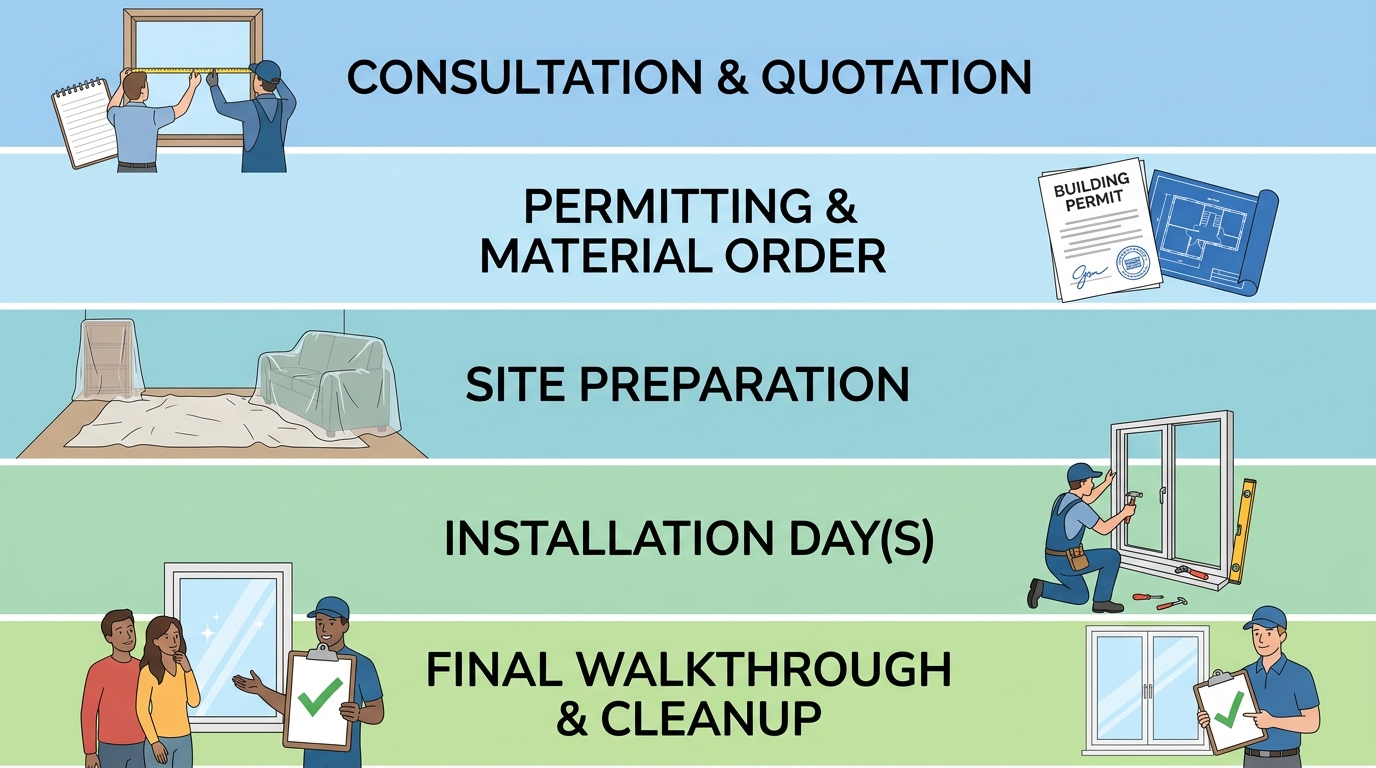
ACN Construction window replacement process in five simple stages
Effective window replacement home preparation begins 1 to 2 days before our crew arrives. We protect your interior floors with coverings, clear access paths around the exterior of each window, and arrange parking for our vehicles so the workday starts efficiently.
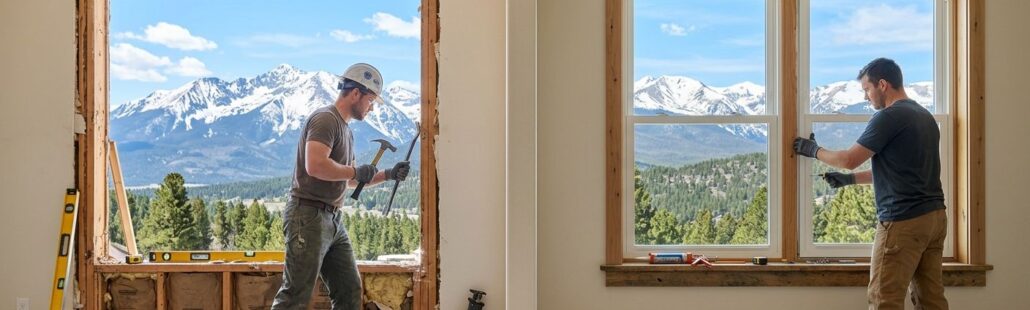
On installation day, we carefully remove old windows and inspect the surrounding frame for any hidden damage. New units are set, leveled, sealed against air and water infiltration, and trimmed for a clean finish. Knowing the signs of improper window installation—such as visible gaps, drafts, or sticking sashes—underscores why a meticulous approach matters. For an average home of 10 to 15 windows, we generally complete the work in 1 to 3 days per floor, though Colorado’s climate may influence scheduling. Extreme cold, for instance, can affect sealant curing times.
The final walkthrough is your opportunity to inspect every window alongside our project lead. We review caulking beads, confirm paint touch-ups are complete, and ensure all debris is removed from your property. This is the time to raise any concerns so we can address them before we consider the job done.
With the process outlined, let us help you get your project started. The next logical step is to explore the window styles and materials best suited to your home. Request a Quote today, and we will bring our design-build expertise to your Centennial or Denver-area renovation.
Preparing Your Home for Window Installation Day
A smooth window replacement project starts well before the crew arrives. Having a clear window installation checklist for homeowners in Centennial helps turn what can feel like a disruptive event into an organized, straightforward process. Taking time to prepare both the inside and outside of your home protects your belongings, speeds up the work, and reduces stress for everyone involved. We have refined our approach over many local projects and follow a consistent pre-installation routine that keeps each job on track.
Indoor Preparations: Protecting Your Home
Thoughtful window replacement home preparation inside your house safeguards your furniture, floors, and daily routine. Start by moving couches, tables, and chairs at least three feet away from every window being replaced. This clearance gives our crew safe, unobstructed access and protects your pieces from accidental bumps or dust.
Next, take down all window treatments. Remove curtains, drapes, blinds, and valances from the work zone and store them in a nearby closet or another room until the installation is complete. Clear window sills of picture frames, potted plants, lamps, and fragile decorations. Small valuables should be secured elsewhere for the day.
We bring heavy-duty drop cloths and floor protection as a standard part of our process, so you do not need to supply these materials. If you have particularly delicate flooring or antique rugs, let us know ahead of time and we will add extra layers. This preparation step makes a noticeable difference in how clean and orderly your home remains throughout the window replacement home preparation phase.
Outdoor Preparations: Clearing the Way
The exterior side of your window installation checklist for homeowners in Centennial is just as important as the indoor work. Walk around your property a day or two before the scheduled date and trim back shrubs, bushes, and tree branches that sit within three feet of any window opening. This small landscaping task prevents scratches on new frames and gives our team room to maneuver ladders and materials safely.
Clear your driveway and the walkway leading to the work area. We need space for our delivery truck and easy access to carry windows from the vehicle to the installation points. Move vehicles, bicycles, children’s toys, and patio furniture out of the path we will travel. If exterior window screens or shutters need to be taken down, leave those for us. Our crew handles screen removal and reinstallation as part of the job, so you do not risk damaging them.
Make sure any gates are unlocked and that we can reach the backyard if windows on that side of the house are being replaced. A few minutes spent on these outdoor steps the evening before installation day removes obstacles and lets the work begin without delays.
Communicating with Your Installation Crew
Clear communication ahead of installation day ties the entire preparation effort together. We call every homeowner the day before the scheduled appointment to confirm our arrival window, verify the scope of work, and answer any last-minute questions. Please provide a reliable contact number where you can be reached that day and alert other household members about the schedule so everyone knows what to expect.
Discuss noise, dust, and daily routines during this call. Window installation involves some vibration and debris, but our team uses containment measures to keep mess to a minimum. We will explain which areas of your home will be most affected and for roughly how long. This conversation also gives you an opportunity to point out any special concerns, such as a home office that needs to stay quiet during certain hours.
Proper preparation and communication go a long way toward avoiding signs of improper window installation, such as gaps around frames or difficulty opening sashes. When the work area is ready and both sides are aligned on expectations, our installers can focus entirely on precise fitting and sealing. For any questions about your specific window preparation, feel free to contact our home renovation contractors ahead of installation day. Please arrange for pets to stay in a secure room away from the work zone and keep young children at a safe distance while the crew is on site.
Indoor vs. Outdoor Preparation: Who Does What?
The following table summarizes the division of responsibilities so you know exactly which tasks fall to you and which ones our team handles. Preparation steps are general guidelines and actual needs may vary based on site conditions and project scope.
| Preparation Area | Key Tasks | Contractor Responsibility | Homeowner Responsibility |
|---|---|---|---|
| Indoor | Move furniture away from windows, clear window sills, remove curtains/blinds, protect floors | Provide floor protection materials, move large items if requested | Relocate small furniture, remove window treatments, secure valuables |
| Outdoor | Trim shrubs near windows, clear driveway for delivery truck, remove screens and exterior shutters | Handle screen removal, provide exterior drop cloths | Trim landscaping, move vehicles, ensure clear access path |
| Communications | Confirm arrival time, discuss noise/dust expectations, review final scope | Call ahead, provide schedule, notify of any changes | Provide contact number, alert household members, arrange pet care |
This division of tasks reflects the approach we follow on Centennial window projects and aligns with best practices outlined by the National Association of Home Builders for contractor-homeowner coordination. When both sides complete their responsibilities, the installation flows efficiently and your home stays protected from start to finish. With these preparations in place, you can look forward to watching your new windows take shape while our team works safely and productively.
Evaluating Quotes, Vetting Contractors, and Inspecting Window Work
Once you’ve selected your windows, the next critical steps are evaluating quotes, vetting contractors, and inspecting the finished work. A professional approach here protects your investment and helps ensure a quality result that lasts for years.
Evaluating a Professional Window Replacement Quote
A detailed window replacement quote should go far beyond a single bottom-line number. It must itemize every aspect of the project so you can compare bids fairly and avoid surprises. We recommend reviewing quotes from our team at ACN Construction—or any provider—with the following components in mind. A thorough quote also accounts for your window replacement home preparation needs, such as interior protection and exterior scaffolding.
Essential Components of a Professional Window Replacement Quote
| Quote Component | Should It Be Included? | Why It Matters |
|---|---|---|
| Detailed scope of work | Yes | Prevents misunderstandings; lists every window, materials, and labor. |
| Itemized material list (window brand, model, glass type) | Yes | Ensures you get the windows you expect; helps compare quotes fairly. |
| Permit fees (if applicable) | Yes, or clearly noted as separate | Avoids surprise costs; in Denver, permits are often required. |
| Warranty details (product + workmanship) | Yes | Protects your investment; ACN Construction offers a 5‑year workmanship warranty. |
| Payment schedule | Yes | Clarifies when deposits and final payment are due. |
Notice that permit fees should be clearly itemized or marked as excluded—this is especially important in the Denver area, where municipalities like Centennial have specific requirements. A complete quote also distinguishes between product and workmanship warranties. Remember that estimates are preliminary and subject to change after a site inspection and full scope review.
Questions to Ask Your Window Contractor Before Hiring
- Are you licensed in Colorado? (Verify with the Colorado Department of Regulatory Agencies—DORA.)
- Do you carry liability insurance and workers’ compensation coverage?
- Can you provide references from recent window projects in the Centennial area?
- What is the proposed timeline, and how do you handle delays caused by weather or material availability?
- How do you protect my property during the job, and what post-installation cleanup is included?
- Do you warranty your workmanship separately from the product warranty?
- What happens if unexpected damage or structural issues are discovered after removal?
It is also wise to verify that the contractor follows standards set by a recognized remodeling industry trade association, such as the National Association of the Remodeling Industry (NARI). Please consult a licensed contractor for definitive advice and always verify licensure with DORA.
Post-Installation Inspection Checklist
Before making your final payment, walk through your home with a detailed window installation checklist for homeowners. This step ensures that the work meets professional standards and helps you identify any signs of improper window installation early. Use this window installation checklist for homeowners as your guide during the inspection:
- Check for uniform caulk lines around all interior and exterior frames.
- Confirm that sashes open and close smoothly and lock securely.
- Inspect for any visible gaps between the window and the wall; daylight should not be visible from inside.
- Look for condensation between panes, which indicates a seal failure and is a defect that must be addressed.
- Interior condensation on cold days may be normal if indoor humidity is high, but condensation inside the glass is never acceptable.
- Ensure that all hardware and screens are installed and intact.
- Verify that the worksite is clean and debris-free.
With your windows properly inspected and confirmed, you can enjoy the comfort and energy savings of your new installation. If any issues are found, address them promptly with your contractor before releasing final payment.
Permits, Codes, and Warranty Protection for Window Replacement
A complete window installation checklist for homeowners should include verifying permit requirements and understanding warranty protection. Confirming local building codes and permit obligations in your jurisdiction before your windows arrive prevents costly delays and protects your investment.
Common Permits for Window Replacement by Jurisdiction
Permit requirements differ across the Denver metro area. In Denver, most window replacements require a permit, with egress and energy code compliance being key considerations. In Centennial and Arapahoe County, permits are needed for structural or egress modifications, and ICC-certified plans may be required if rough openings change. In Aurora, full-house replacements require permits, and impact-rated windows are mandatory in wind-borne debris zones per local code.
The following table outlines what homeowners can expect across three jurisdictions we commonly serve:
| Jurisdiction | Permit Required? | Typical Who Obtains | Key Code Note |
|---|---|---|---|
| Denver city limits | Yes, for most window replacements | Contractor (or homeowner with proper license) | Egress requirements for bedroom windows; energy code compliance |
| Centennial / Arapahoe County | Yes, for structural changes or egress modifications | Contractor (preferred) or homeowner | Requires ICC‑certified plans if altering rough openings |
| Aurora | Yes, for full‑house replacements | Contractor (licensed in Aurora) | Impact‑rated windows required in wind‑borne debris zones |
We handle permitting as part of our design-build approach. You can verify Colorado contractor licensing through DORA before signing any contract, ensuring your contractor meets state professional standards. As part of your window replacement home preparation, confirm with your local building department which permits apply to your specific project. Permit, inspection, and fee requirements vary by jurisdiction and may affect schedule and cost.
Beyond regulatory compliance, warranty coverage offers lasting peace of mind. We stand behind our window installations with a five-year workmanship warranty covering labor defects under normal use, with manufacturer parts warranties provided separately. Our warranty is transferable, adding value if you sell your home, though it excludes damage from misuse or site conditions beyond our control. We provide warranty details in writing so you know exactly what is covered before work begins.
Proper permits and inspections help avoid signs of improper window installation like drafts, moisture intrusion, or operational binding. With your permits in order and warranty confirmed, you are ready to move forward. Let us help you get your project started.
Common Questions About Window Installation in the Denver Area
What does a window installation checklist for homeowners look like? We measure window openings, select appropriate permits, and prepare the work area. A window installation checklist for homeowners helps ensure nothing is overlooked.
How do I prepare my home for window replacement? Proper window replacement home preparation involves clearing furniture from windows, protecting floors, and discussing access with our crew. We provide a pre-installation walkthrough and recommend verifying your installer’s license through the Colorado Department of Regulatory Agencies (DORA) before work begins.
What are the signs of improper window installation? Drafts, difficulty opening or closing, gaps around the frame, and condensation between panes are signs of improper installation. If you notice these after the job is complete, contact a professional immediately.
Let us help you get your project started.
Begin Your Window Replacement Project with Confidence
Starting your window replacement project with confidence begins with a solid window installation checklist for homeowners. At ACN Construction, our deep local knowledge in Centennial, CO ensures every exterior project is handled with care, and we help you with window replacement home preparation.
Our design-build approach provides single-point accountability from concept to completion. As a full-service design-build remodeling contractor, we handle all planning, permits, and trade coordination. We follow best practices recognized by the National Home Builders Association to deliver quality. This ensures a seamless experience from start to finish. Let us help you get your project started.
Resources